
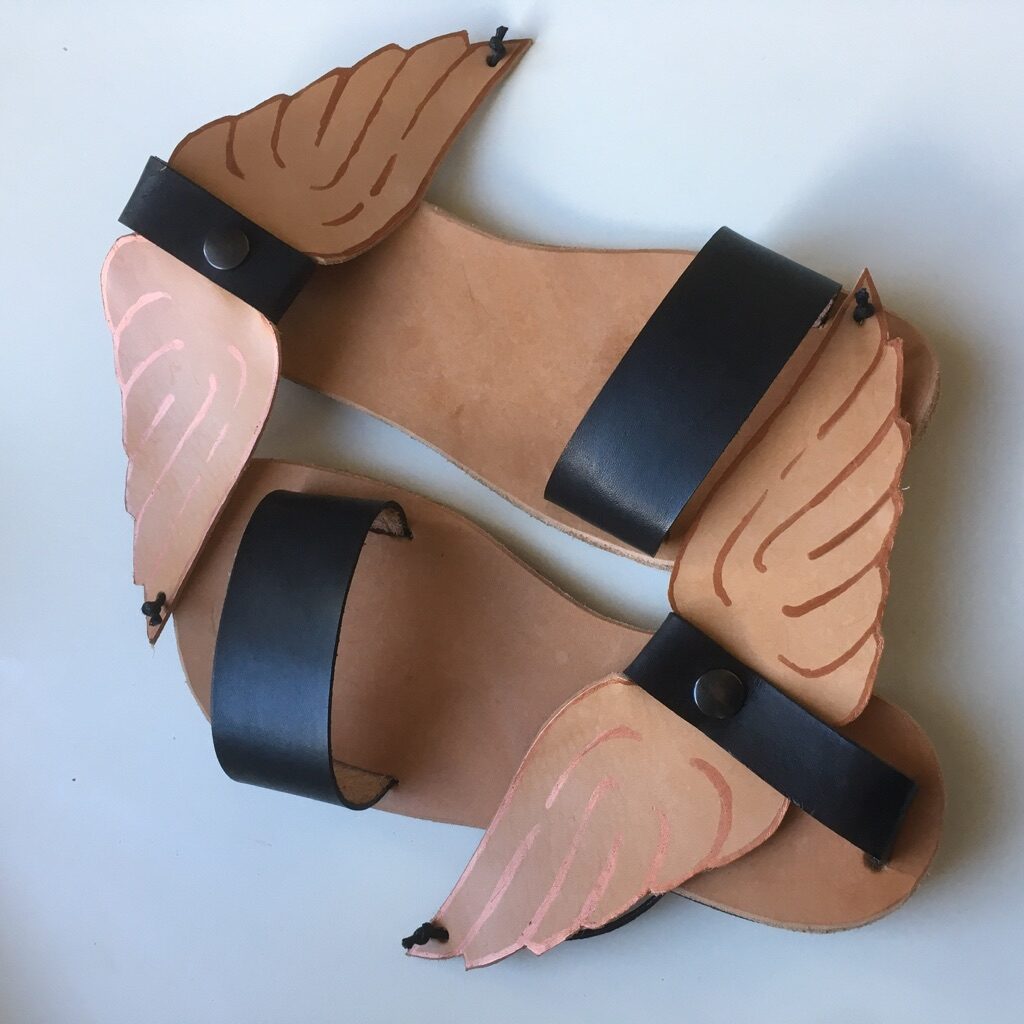
As part of my #100DaysofShoemaking project (see this blog post for more info), I decided to design and make a pair of sandals. It’s been a veeeeeeery long time since I last made shoes (hello uni days…) but it was really fun to get back into it with a new style and in my own time. I’ve now completed them and thought I’d write up how it went. Scroll through to the end to see the finished articles!
SO WHY SANDALS?
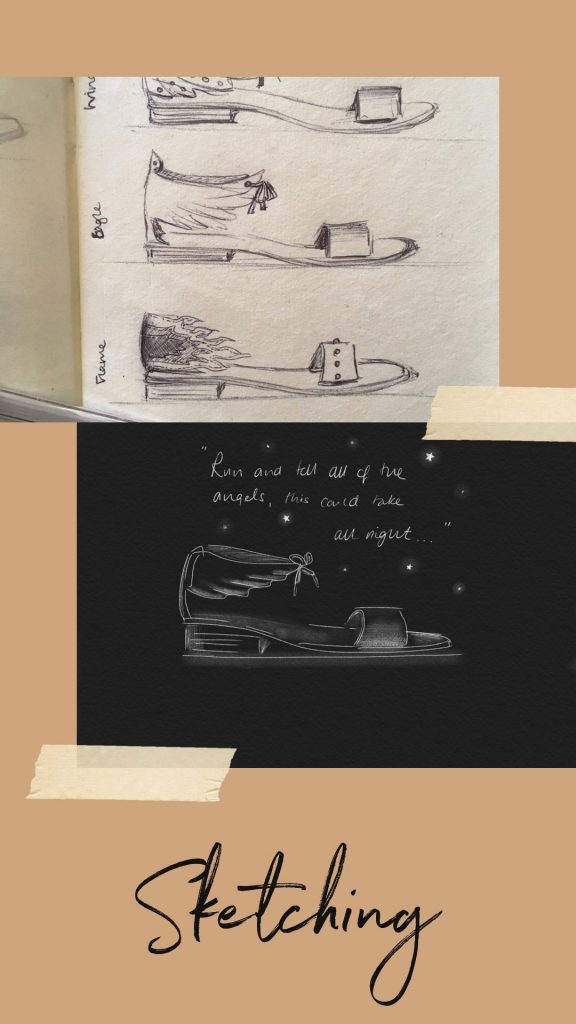
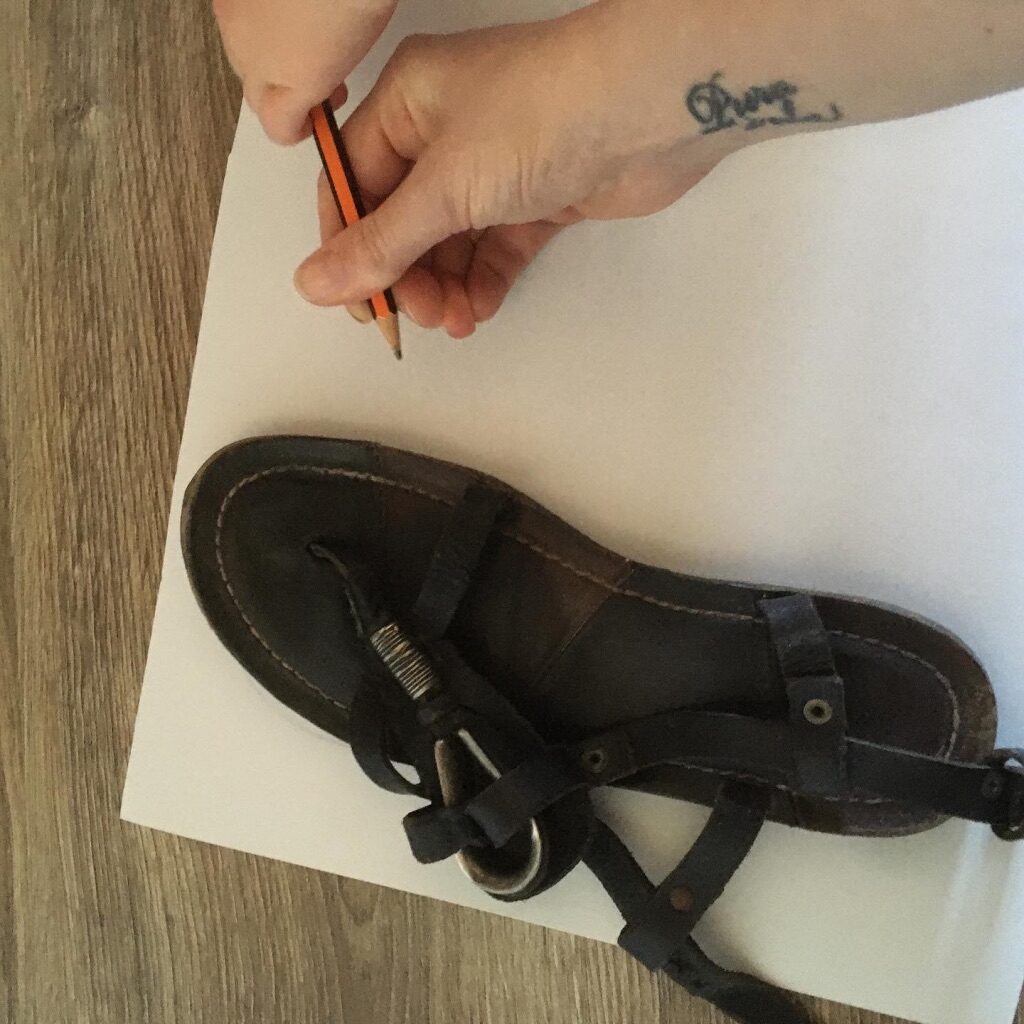
Honestly? because Summer’s coming and my gorgeous AS98 sandals are broken! Eek. I desperately needed a new pair of toe liberators for the sweaty season in Italy! I figured it would be a great challenge to make my own and hopefully not too difficult as a first project. I started off sketching out a few ideas for an original (but wearable) design…
HOW DO YOU ACTUALLY MAKE A PAIR OF SANDALS THEN?
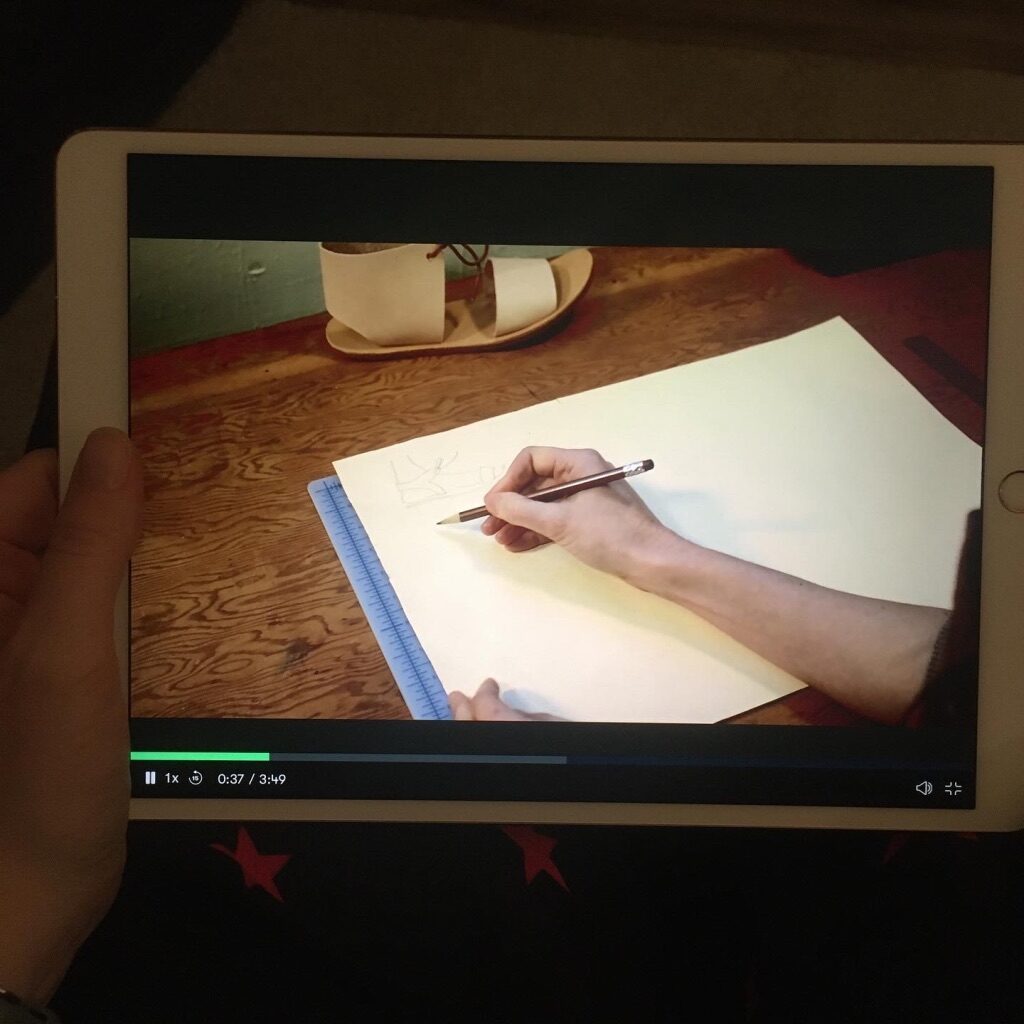
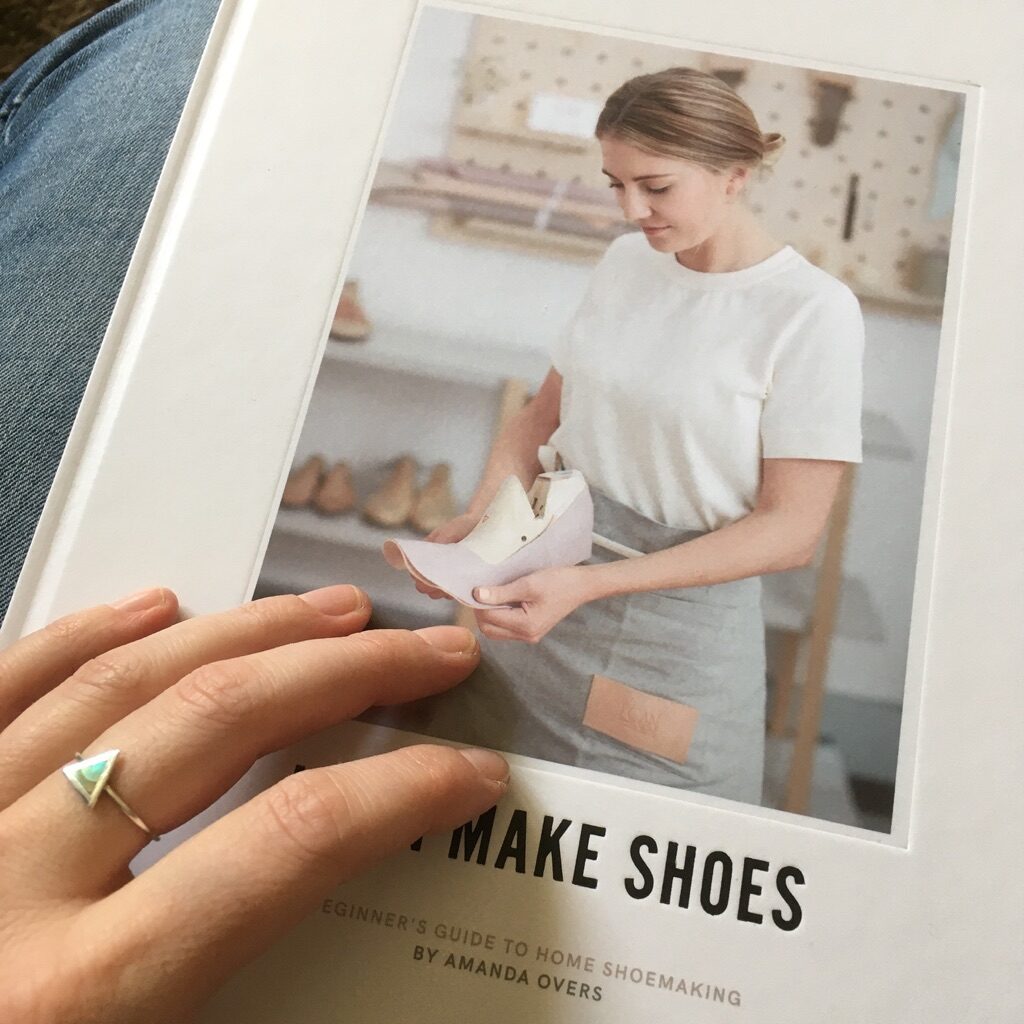
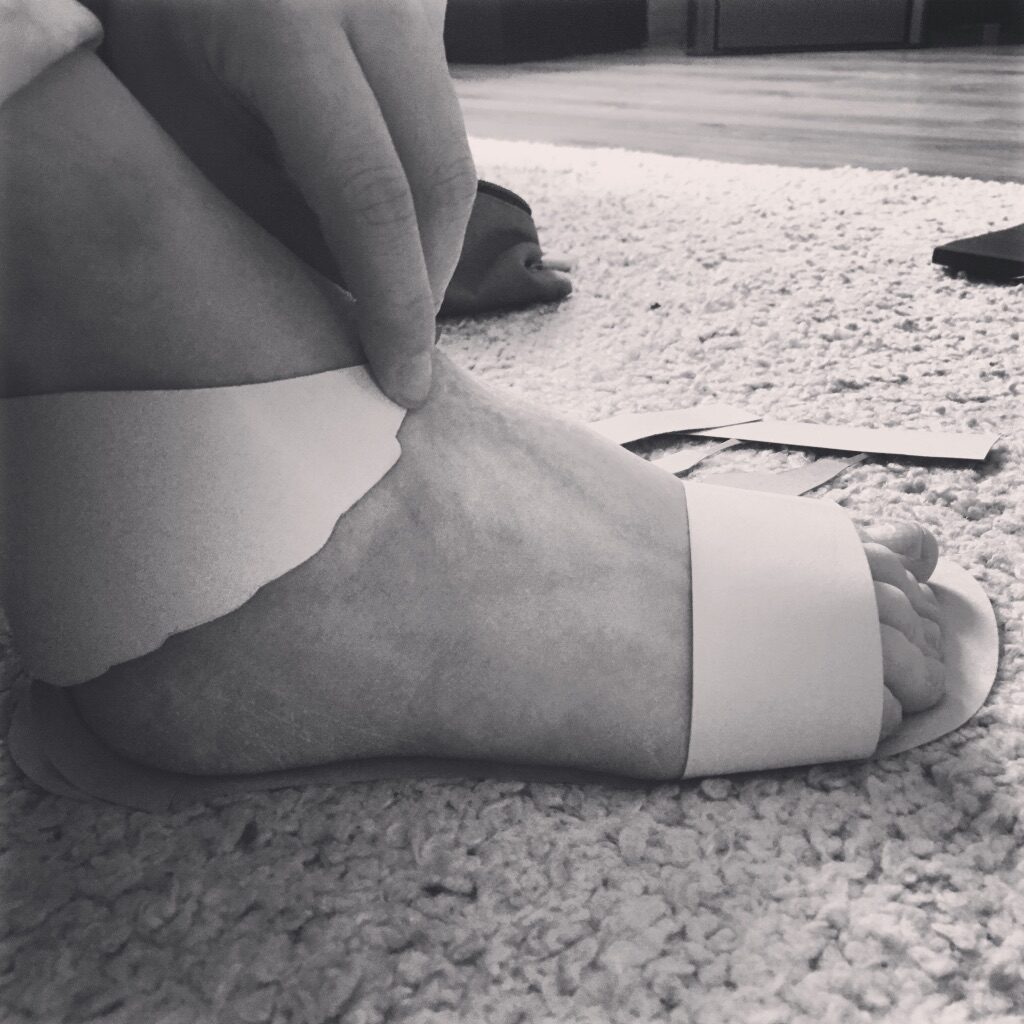
I used a combination of resources having bought the book I Can Make Shoes by Amanda Overs and watched tutorials on the online Skillshare platform with Rachel from ‘Rachel Sees Snail Shoes‘, a sandal workshop and kit-based business in Portland, USA. The methods were really similar and encouraged working directly onto your own foot, rather than a shoe last ( the kind of mold that gives the shoe its final shape). Both courses were also aimed at the beginner shoemaker working from home which was perfect.
WHAT DOES THE PROCESS LOOK LIKE?
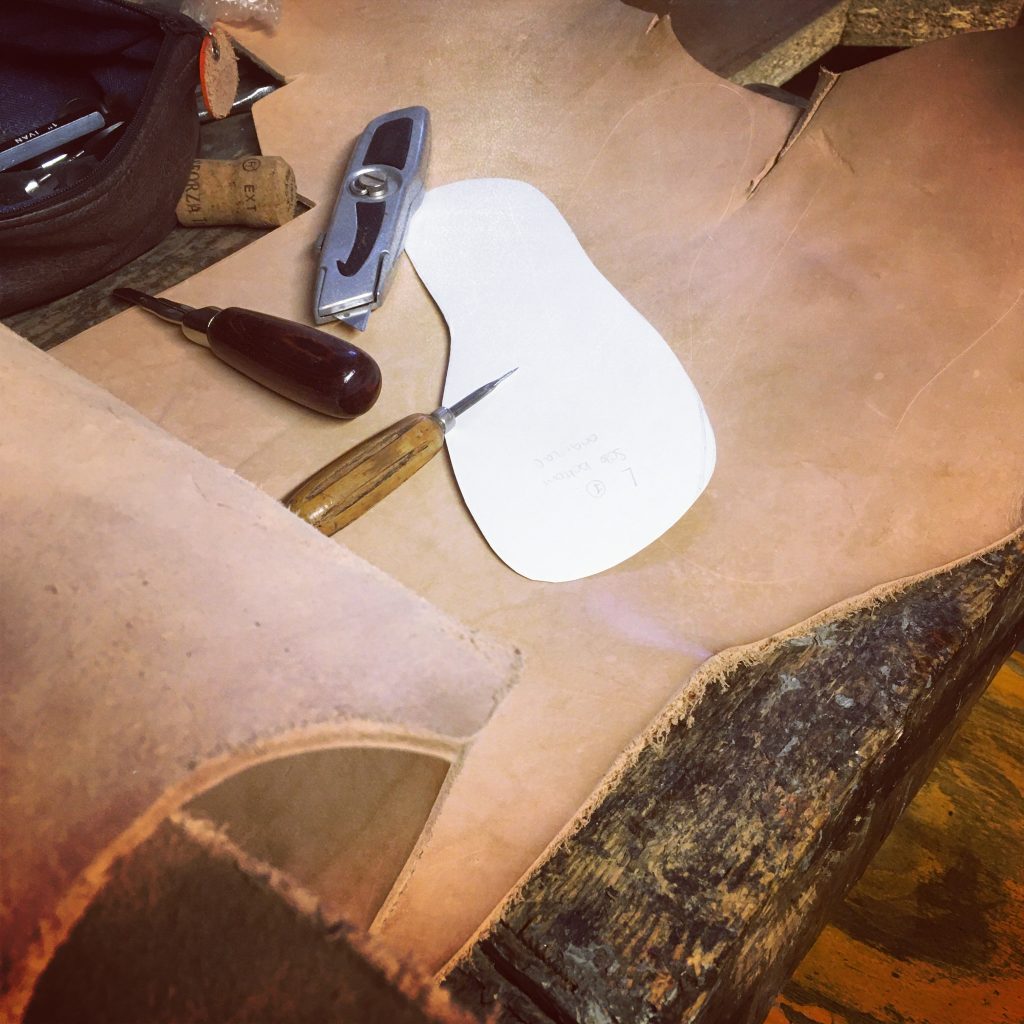
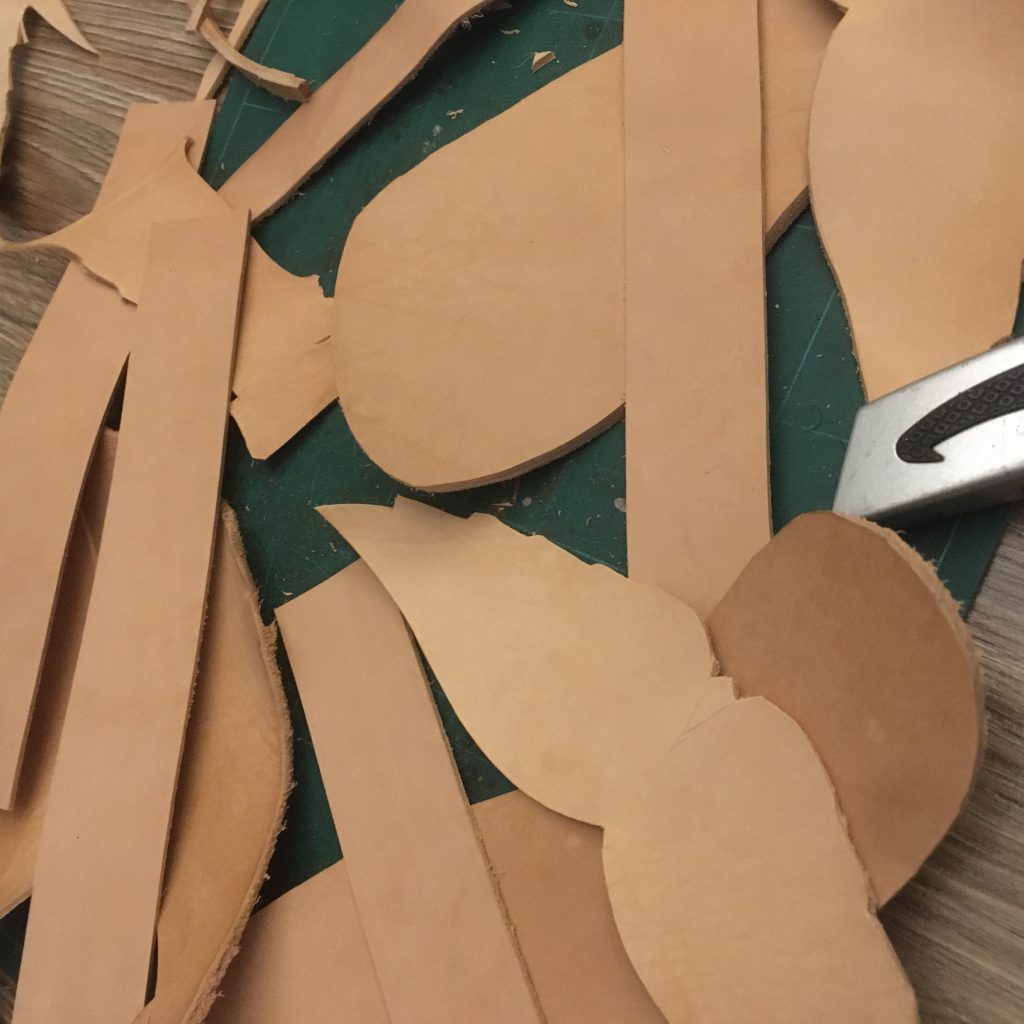
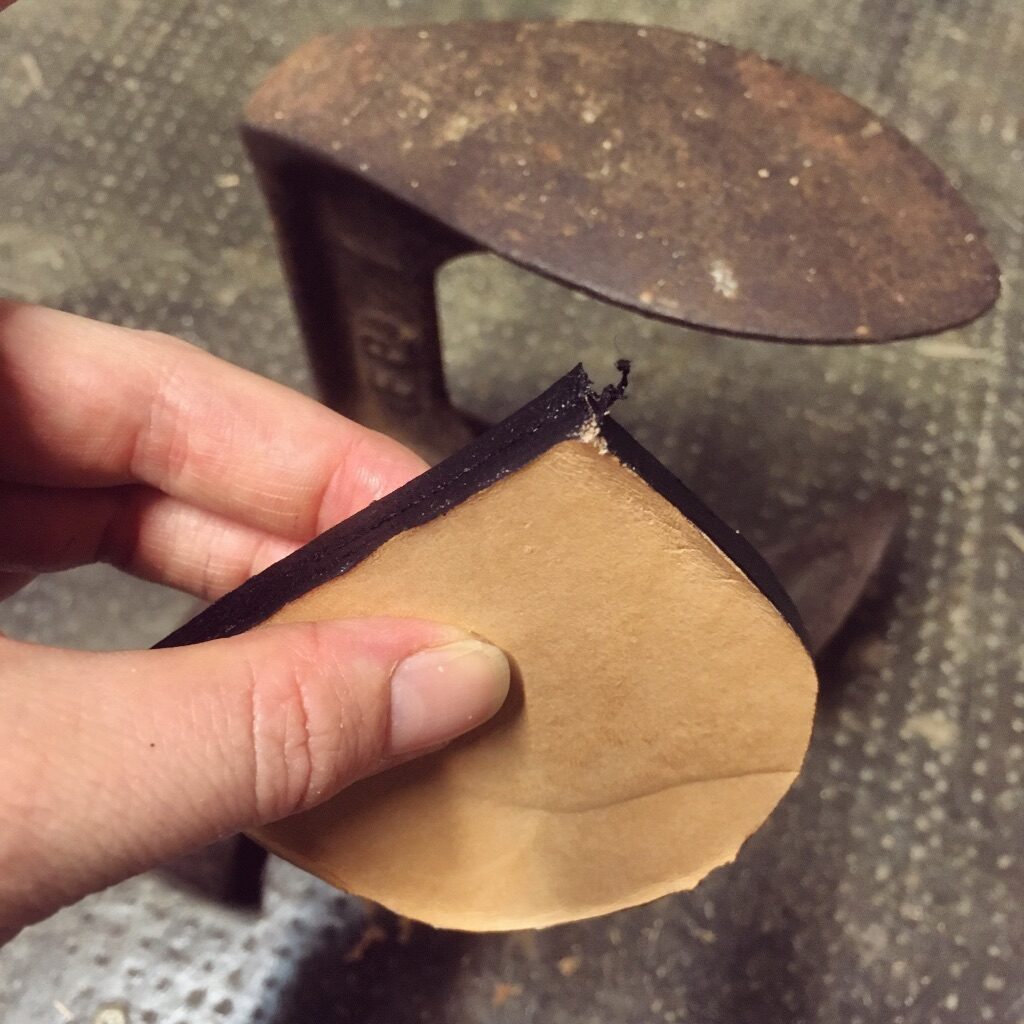
It’s probably easier if I explain this visually….
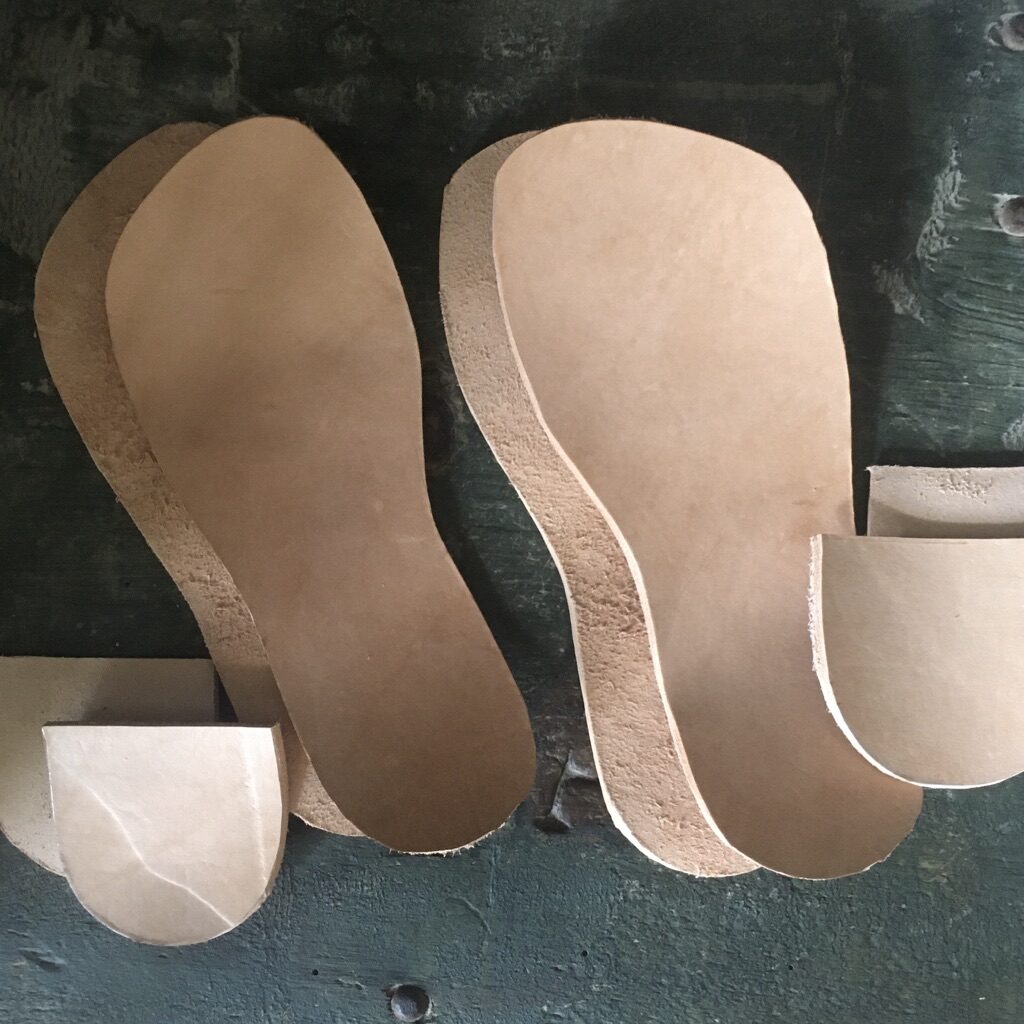

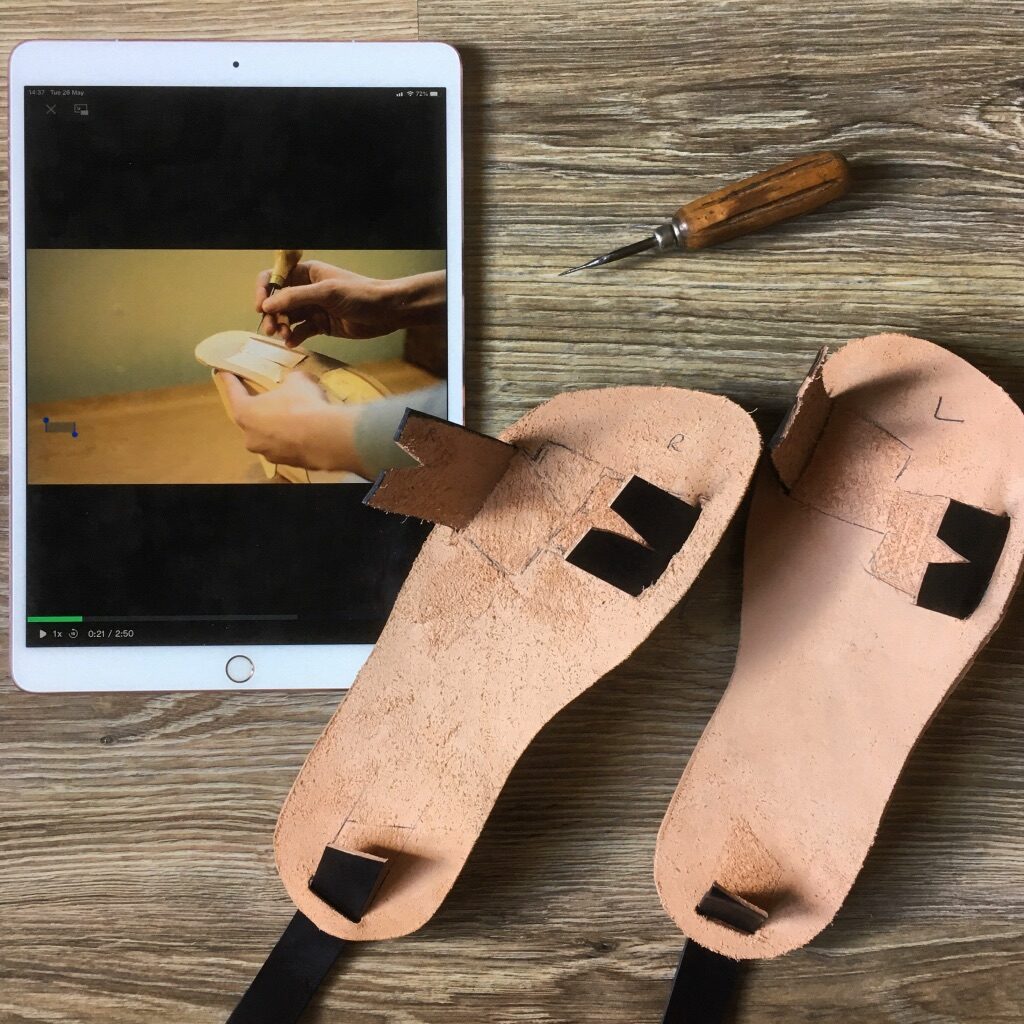
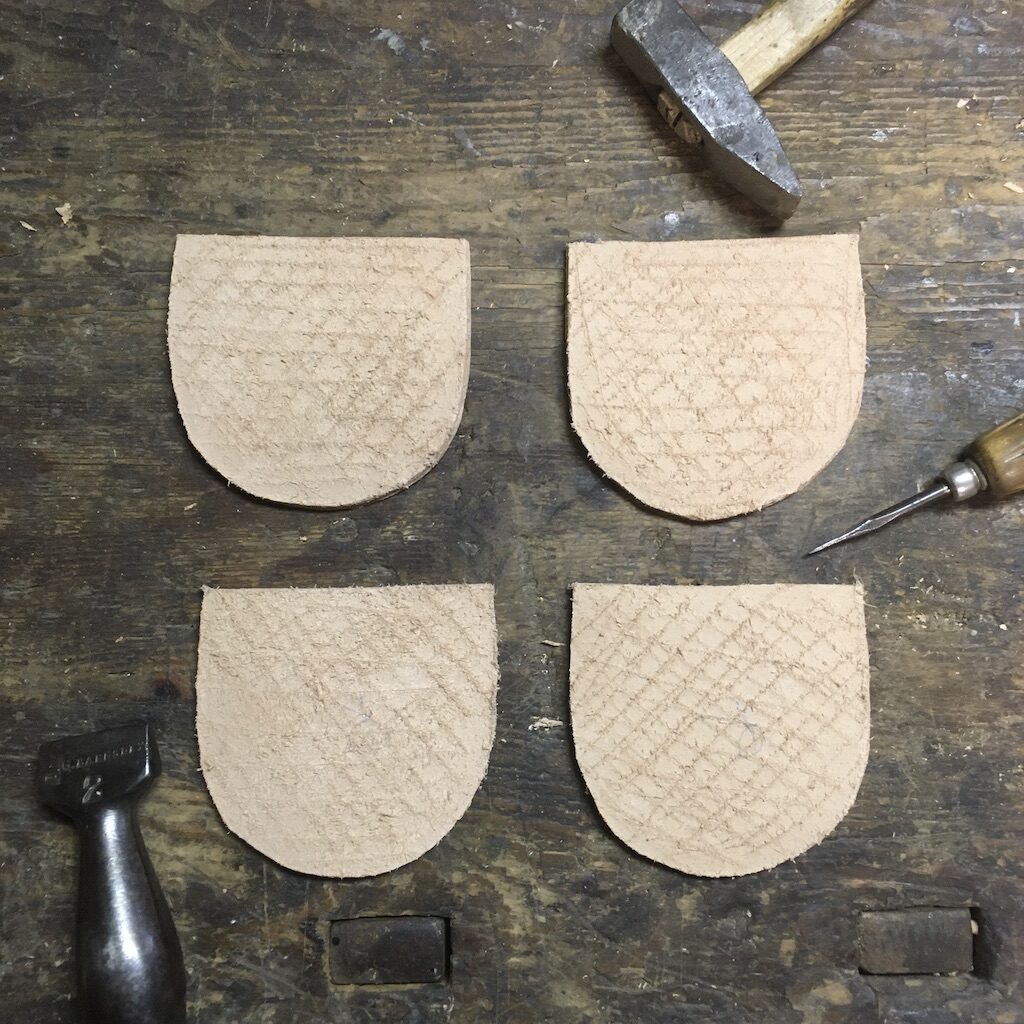
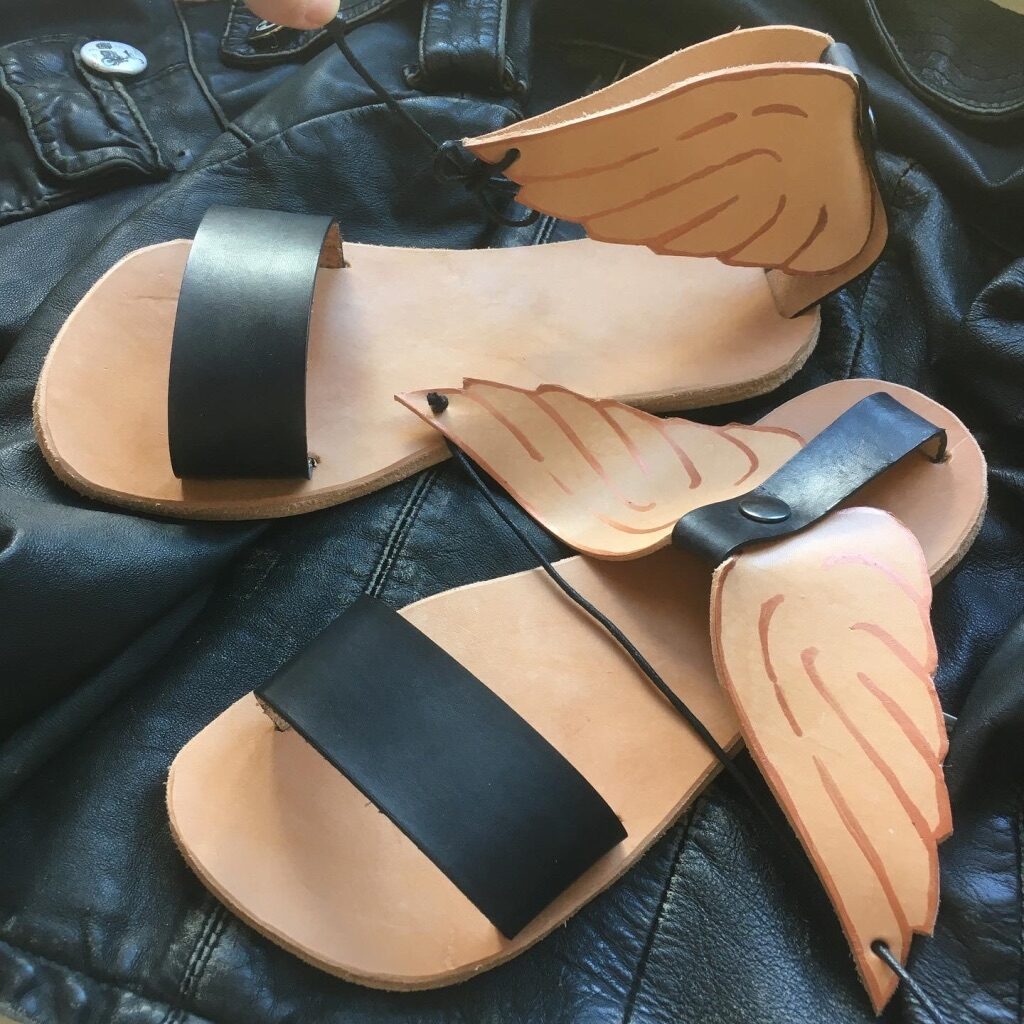
SO THAT’S ALL THERE IS TO IT, BUT HOW DID IT REALLY GO?
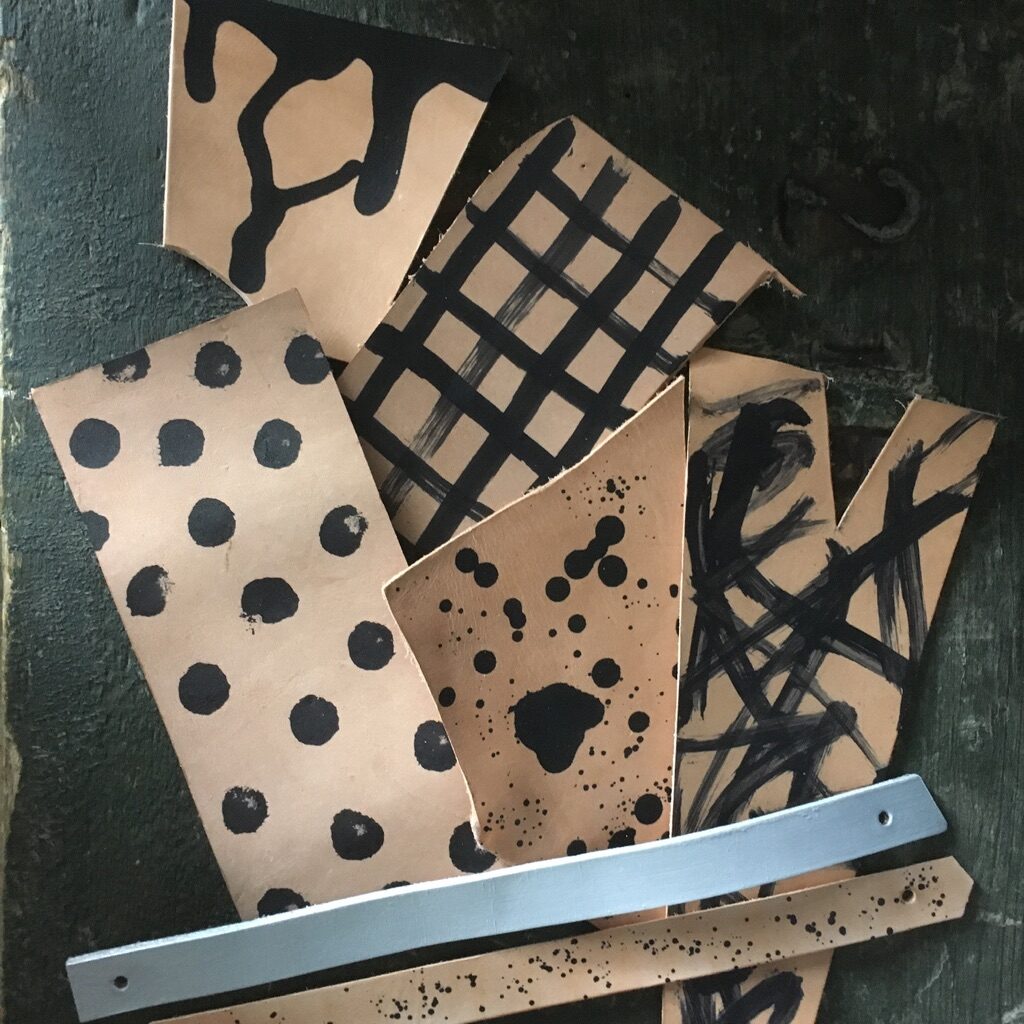
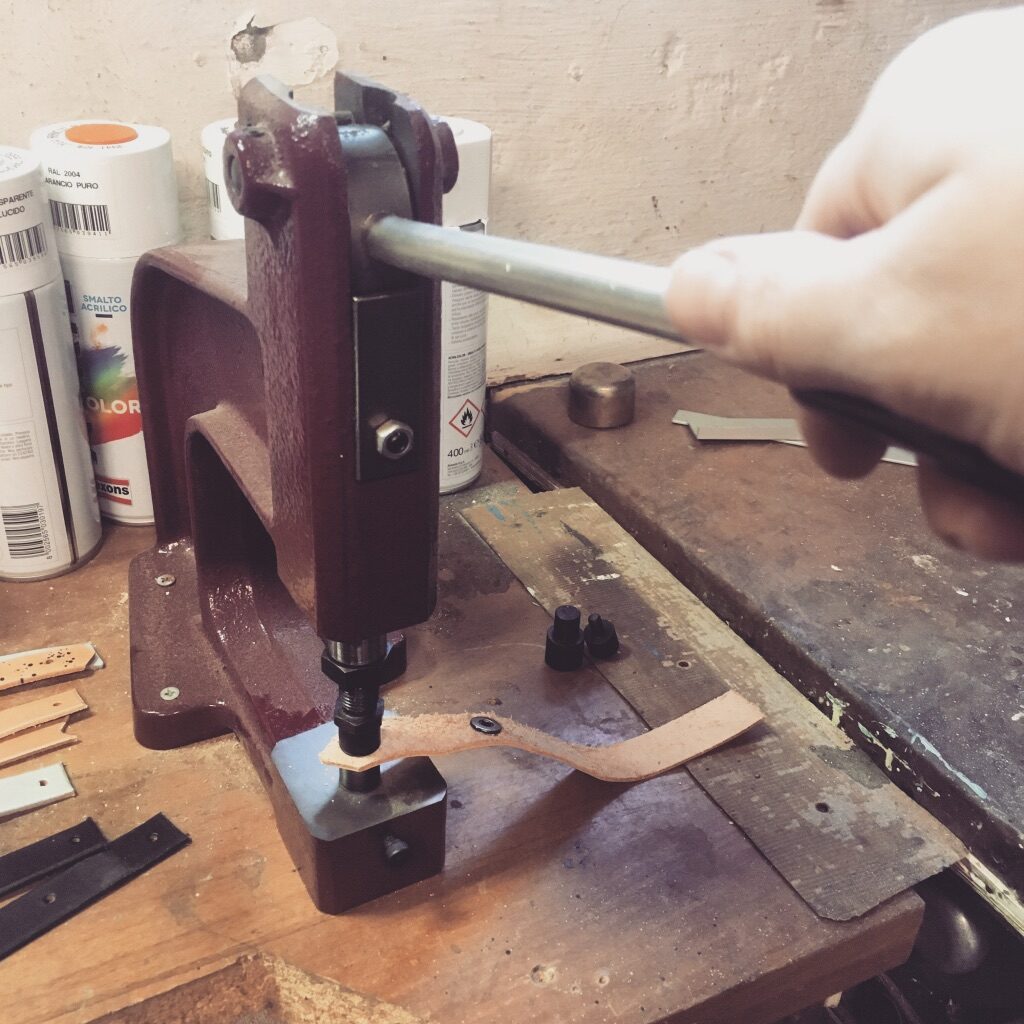
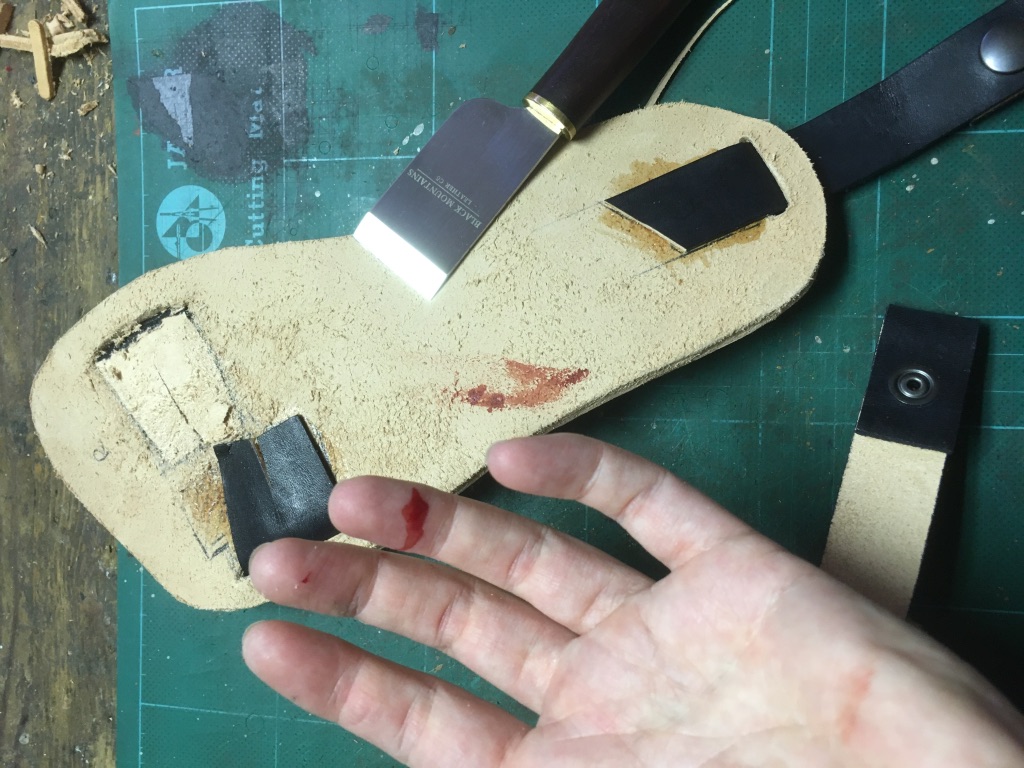
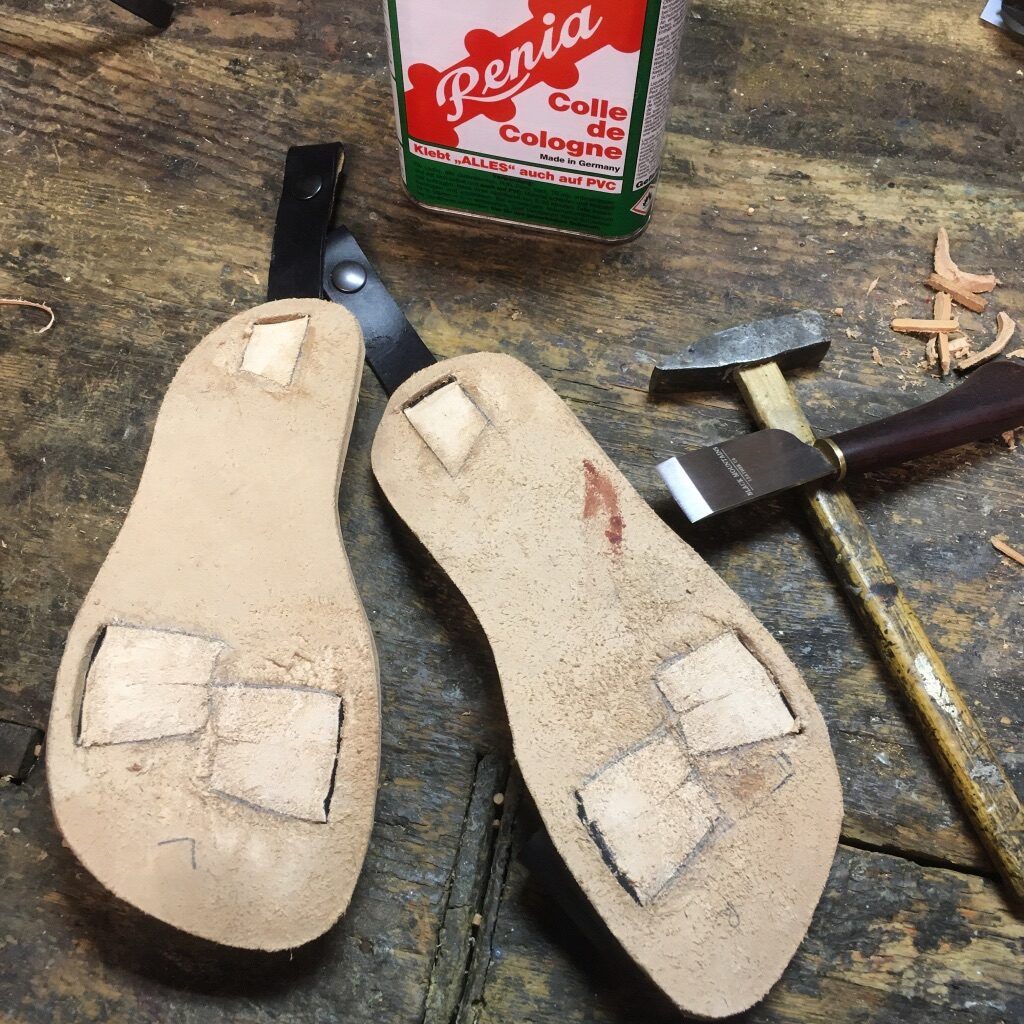
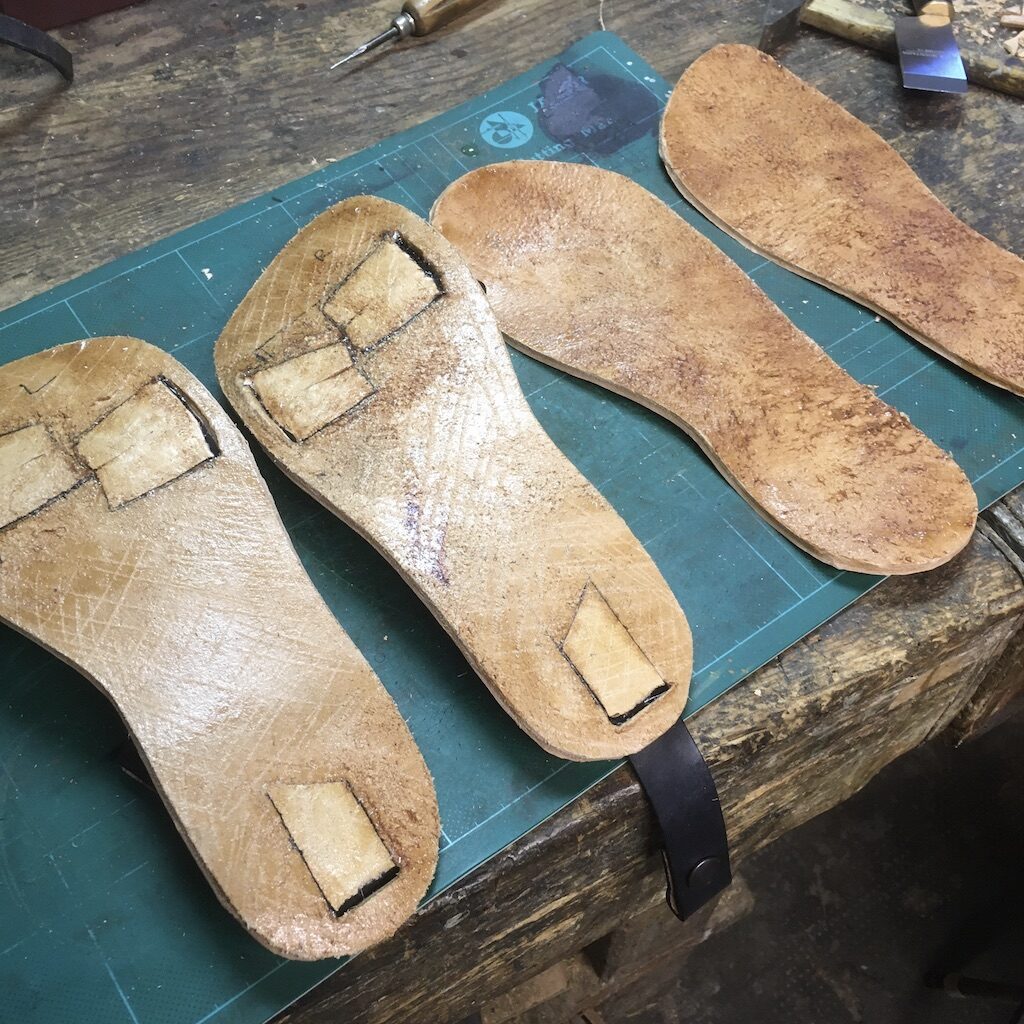
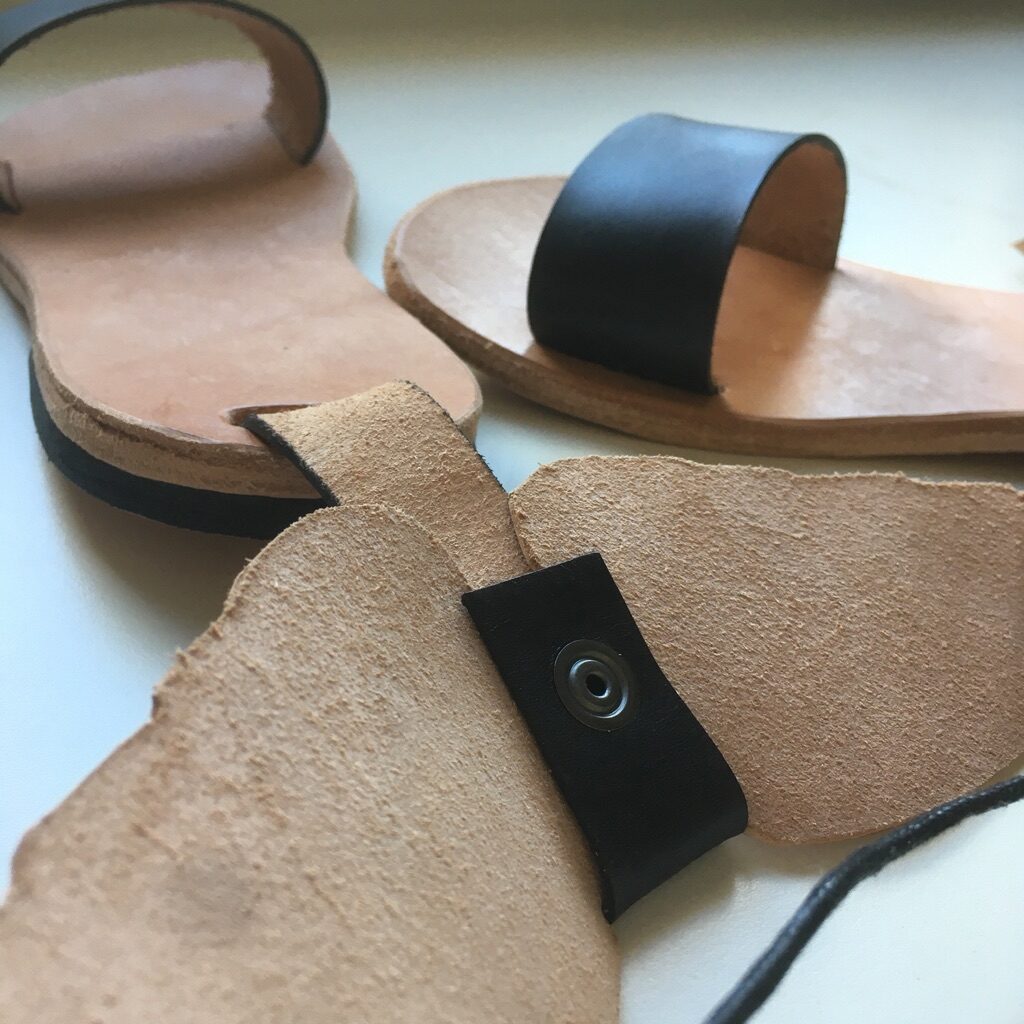
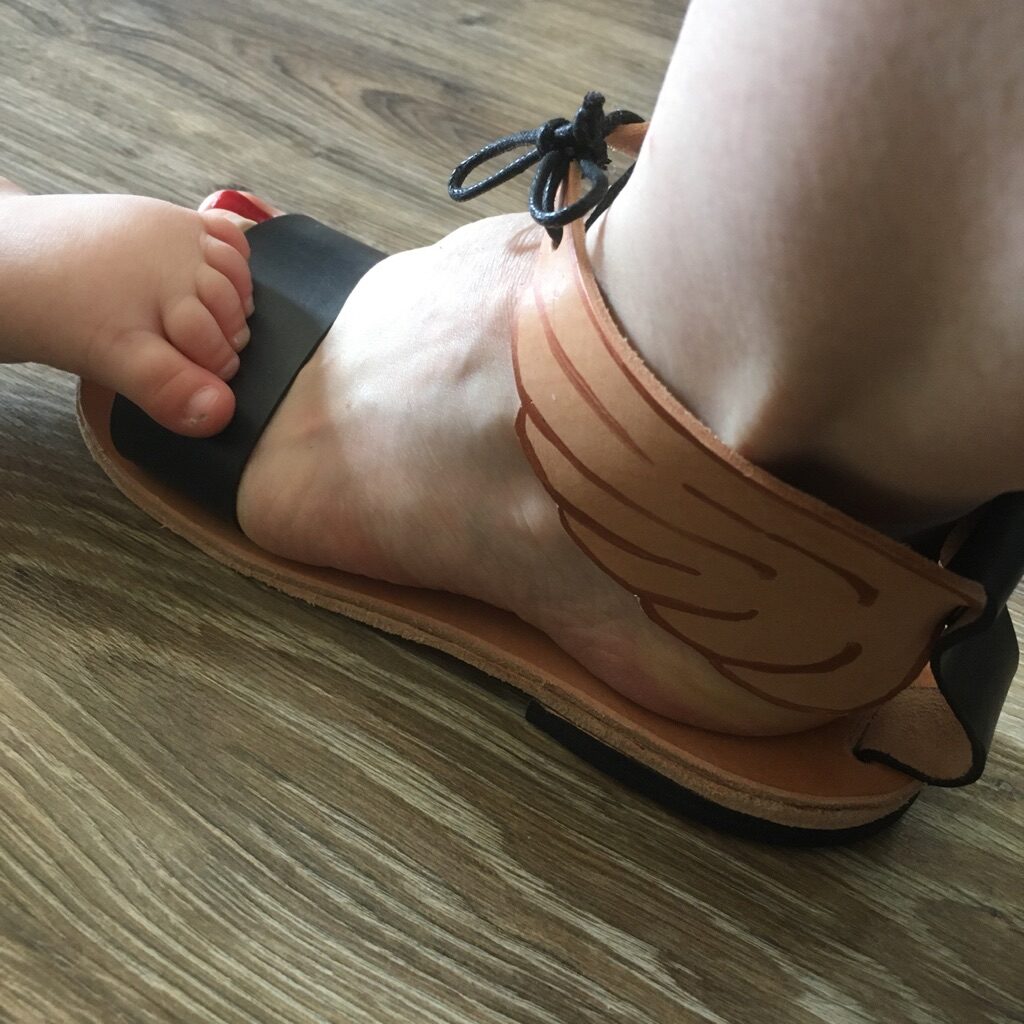
Hmmmm….I’d say it went well overall, even if the final shoes have come up a bit big. I learned how to bring my 2D paper design to life in 3D, trialling some new adhesives, reacquainting myself with my awesome long-handled press, leather tools and testing a new folding hammer! I understood what looked good, what looked bleurgh and how to paint/dye the leather to achieve a beautiful look. Where I stumbled was the leather strap holding my toes to the sole. For some reason I’ve not pulled it through the sole enough before gluing to create a snug fit (don’t ask me why) so consequently it’s just too baggy for my foot – even my wide little moomin feet! Doh!
ADVICE FOR OTHERS ON A HOMEMADE SANDAL QUEST?
Absolutely give it a go! I know technically I can’t wear this first pair, but I’m so happy to pop them up on a shelf , grin as I walk past them every day and call them the prototype to my future footwear empire! wink wink. No, seriously, I’ll be making another pair based on all my learnings from the first ones, which I’m sure will be even better – all it will take is for them to actually fit me! Ha! If you’re looking for tips I’d just say don’t rush it, measure twice & cut once (which was my pattern cutter teacher’s mantra that I clearly didn’t follow), enjoy the learning process rather than worrying about creating a perfect end product.
SO WHAT’S NEXT?
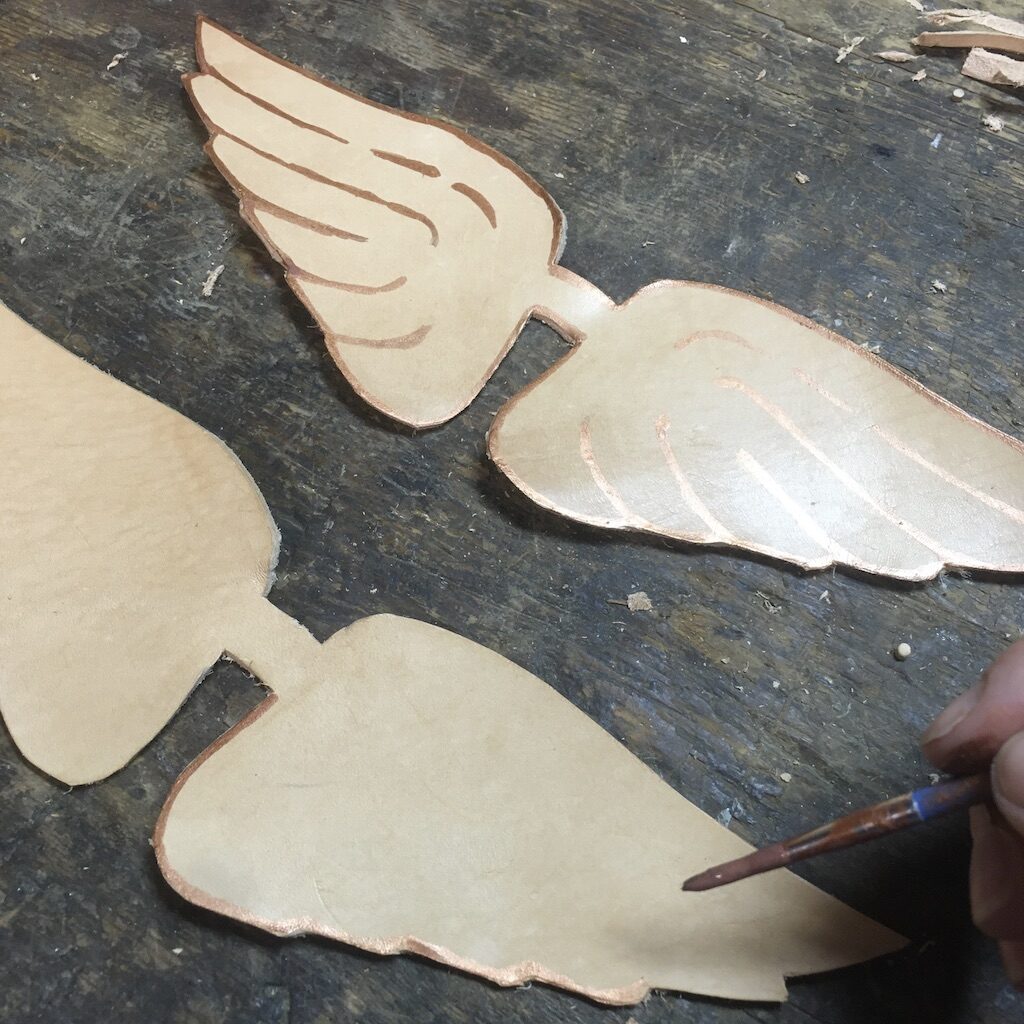
Good question! Before The Corona Lockdown, I did actually buy myself everything I needed to make one whole pair of shoes. I have a gorgeous, shiny, new pair of lasts, a set of heels, soles and various oddments of leather to experiment with, leftover from my university degree. I fancy a kind of simple shoe-boot to start with but first I’ve got to nail these winged sandals! I guess the plan is just to keep exploring, failing my way forwards as Leona from @IndieRoller would say! The 100 Day project which kickstarted my re-acquaintance with shoes will shortly come to an end so watch this space or follow my progress over on Instagram to see how I fair in future shoemaking adventures.
Zoe x