
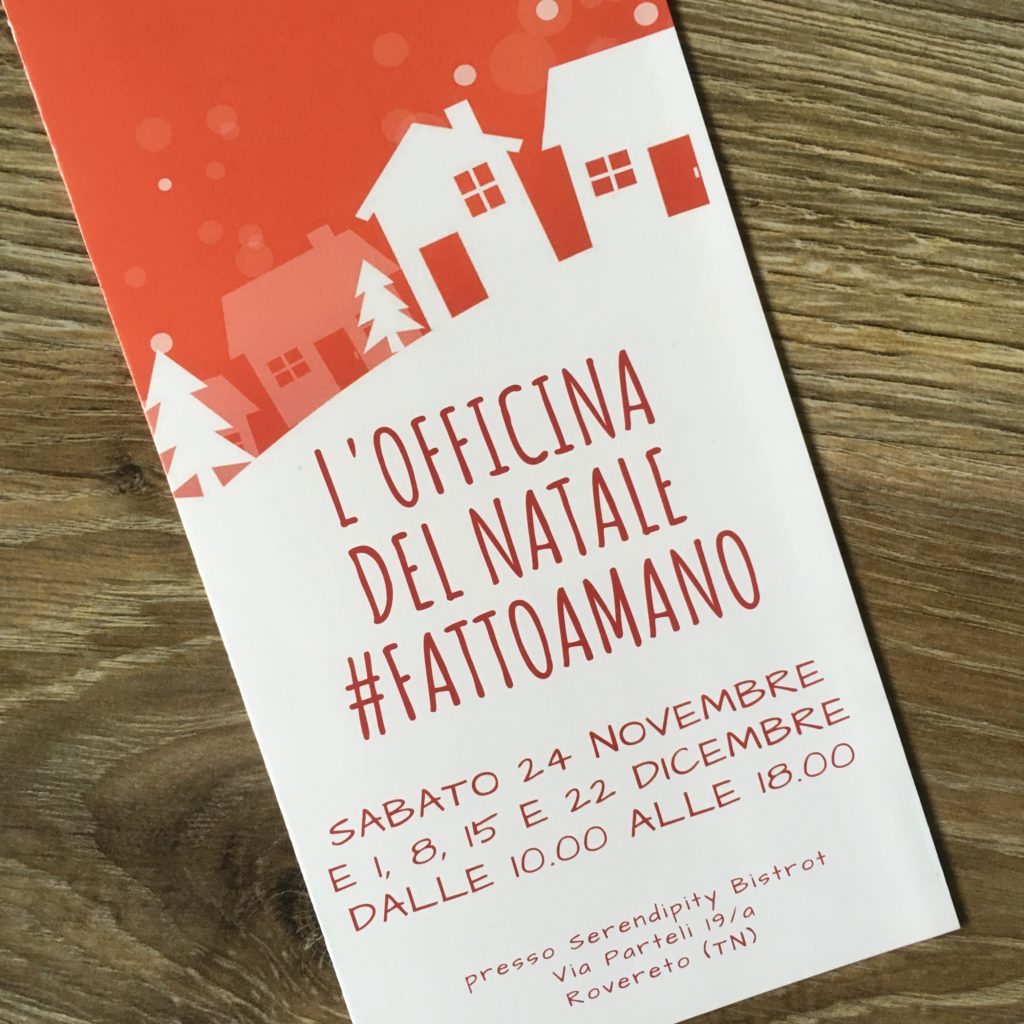
I’m super excited to write this week as I had my first taste of selling my leather products at a small artisan Christmas fair last weekend. I had a great experience, (despite the cold and the location being slightly out of town), so this week I want to share a few things I learned that may also help you if you decide to embark on a similar handmade journey…
OK, here goes…
1. Make sure you have enough stock for the allocated space
Obviously this is difficult if a) you are joining at the last minute and have no time to make much or b) you have no idea of the size of the space available, but if you can, find out what you have to work with. How big is your pitch? What are the measurements of the structure? What sort of table/structure/wooden hut do you have? Does it afford you extra room to hang your work? Is it covered or open to the elements? These are all questions that will help you understand what you’ve got to work with so you can fill the space and design your display accordingly.
****
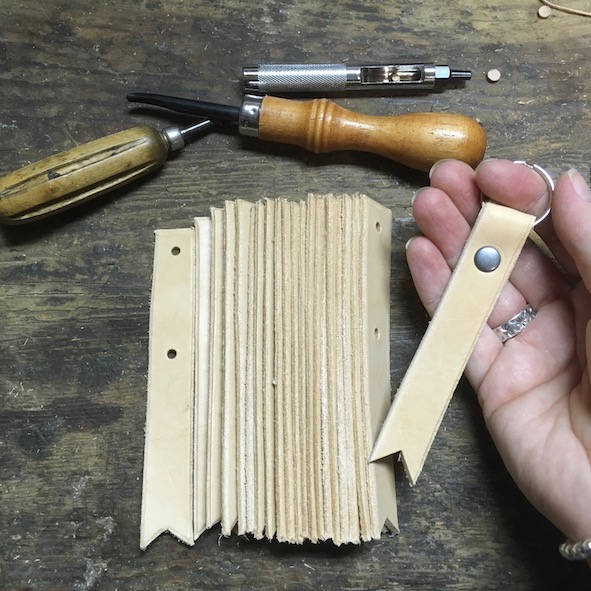
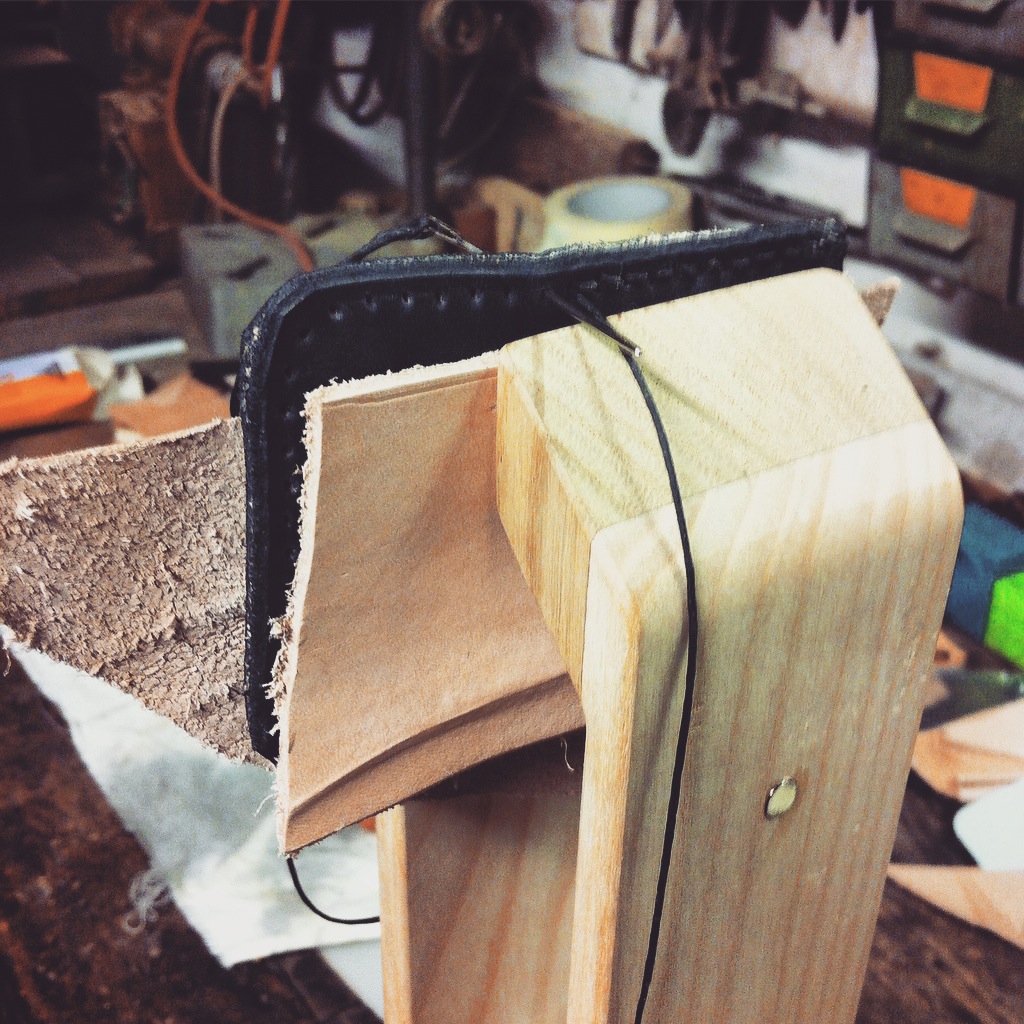
2. Take something to work on during quiet periods
There will be lulls and you can really use this time to work on a new project, if you remember to bring all the necessary tools/components/materials. I must admit, I brought a piece of leather and a pattern piece ready to draw out and cut. I even took along needles, an awl and thread so I could then stitch it up. But crucially I forgot my glue. Admin fail. So, I could only get so far. I filled the rest of my time using my letter stamps to add words and phrases to some of the items I had on display. If you can demonstrate some of your skills in this way, not only are you keeping yourself busy and saving time on jobs you would need to do anyway, but you are also providing something for potential customers to see. There’s nothing better than seeing an artisan at work as it gives a greater sense of appreciation for their work and the skill involved to create it.
****
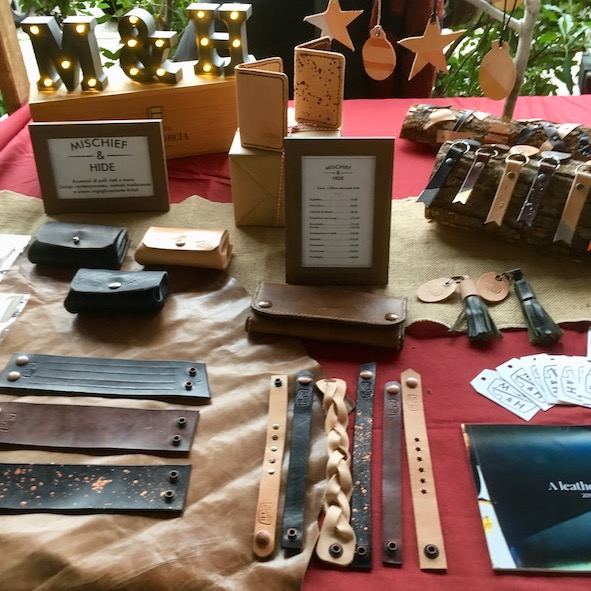
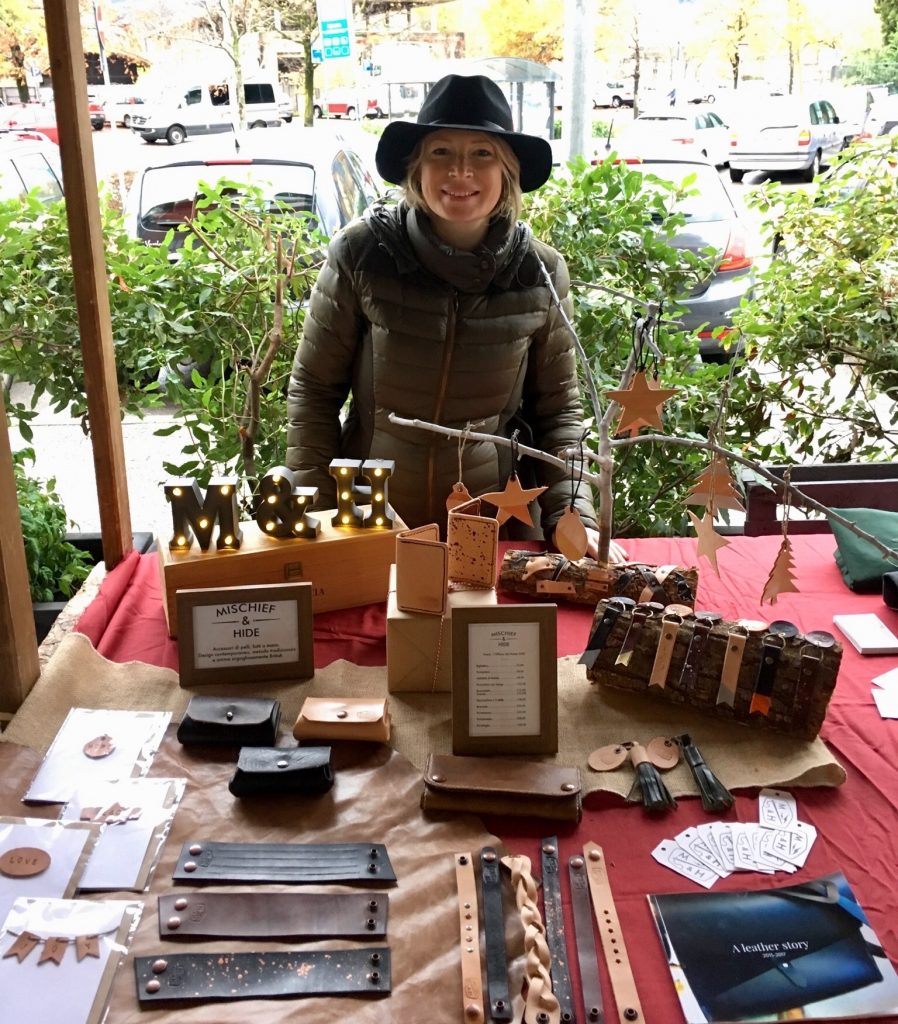
3. Try out your display at home & prepare a toolkit.
A couple of nights before the fair, my boyfriend and I used a large cardboard box to do a trial run of my stall. It was just short of the 1m x 1m table I would have but we made do and it was a really useful exercise in how to create something visually appealing whilst maximising space. A good tip to remember is also to play around with height so if you can add some props to elevate your products, the overall appearance is more interesting and less ‘flat-table.’ It also looks as though you’ve given your work some consideration which is never a bad thing. A table cloth or runner is a great base for your display. I also prepared a ‘toolkit’ containing some string, pegs, drawing pins, scissors and photos of my work to enable me to hang items once I was on site.
****
4. Pack your stuff the night before.
Doing a fair is like going to school: you need all your shit together so you may as well get it done the night before and then it’s one less thing to stress about when it’s showtime. Which leads me nicely onto point 5….
****
5. Set an alarm.
I relied on my toddler to wake me up at his usual 6:30 so didn’t feel the need to do this. FAIL. This was the one day he decided to sleep in until 7:50. Seven fifty!!!! Absolutely unheard of in the entire history of his existence and he chose my FAIR day to do it. Consequently, the morning started in a tumultuous fashion and then transcended into full on chaos and I arrived at my stall ten minutes before opening time. Not cool. So, set an alarm…
****
6. Remember your float.
Anyone who’s ever done a carboot sale will know, you always need that money belt/ice-cream tub of change for that one customer who wants to buy your 50p Star Wars keyring with a £20 note. So, make your way to the bank and get a good quantity of change. Obviously the exact amount you get will depend on your prices. You may also want to think about a mobile card machine, to allow for credit/debit card payments. Sumup and iZettle are 2 companies offering card readers for a one-off fee, and take a percentage of each transaction you complete, (although personally I haven’t tried either so would be interested to hear your thoughts on them).
****
7. Cold and wet weather gear.
Obviously if you’re exhibiting indoors, perhaps the wet weather gear can stay at home but don’t underestimate how cold you might get sat/standing around for long periods of time – even in an indoor structure. If you can, wear layers and take extra socks, fingerless gloves (standard market-trader procedure!) and a hat, just in case. It will make the whole experience that much more pleasurable, regardless of the overall footfall, if you can at least stay warm and dry.
****
8. Have an order book (& pens) ready.
Much like the chump to wanted to buy your carboot 50p keyring but had no change whatsoever, there will always be a customer who is not satisfied with the twenty options and various colourways you have selected to bring with you. So as not to lose a sale, you could offer to make them a product to order so take a notebook + pen and write down as much information as you possibly can about their specifications. You’ll need to take the customer’s details, get THEM to print their names clearly for personalised goods, (so you can’t be accused of spelling mistakes later on), and I would also advise on taking money upfront or, at the very least, a deposit. You don’t want to be left with a beautiful object you can’t sell because it’s been stamped with initials and your original customer has vanished off the face of the earth.
***
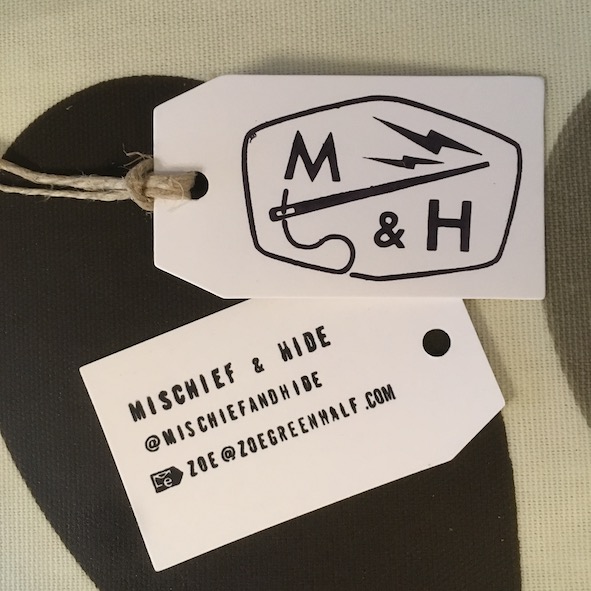
9. Make sure people know how to contact you.
This is a really important one – especially if you’re just starting out and don’t have a website or Etsy/Shopify store. Give people a phone number or email address they can reach you on. Social media handles can often be enough these days so grab yourself a Facebook page or an Instagram profile and make sure people know where to follow you once the fair is over. You might want to prepare some business cards although I didn’t bother this time as I have chosen to wait until I have an online store set up. I did, however, improvise with some blank parcel tags and a rubber stamp that I could configure myself, choosing to write simply the name of my brand, my email address and my Instagram handle. On the other side I just stamped my logo. A bit DIY perhaps but for my first fair experience, it was enough.
***
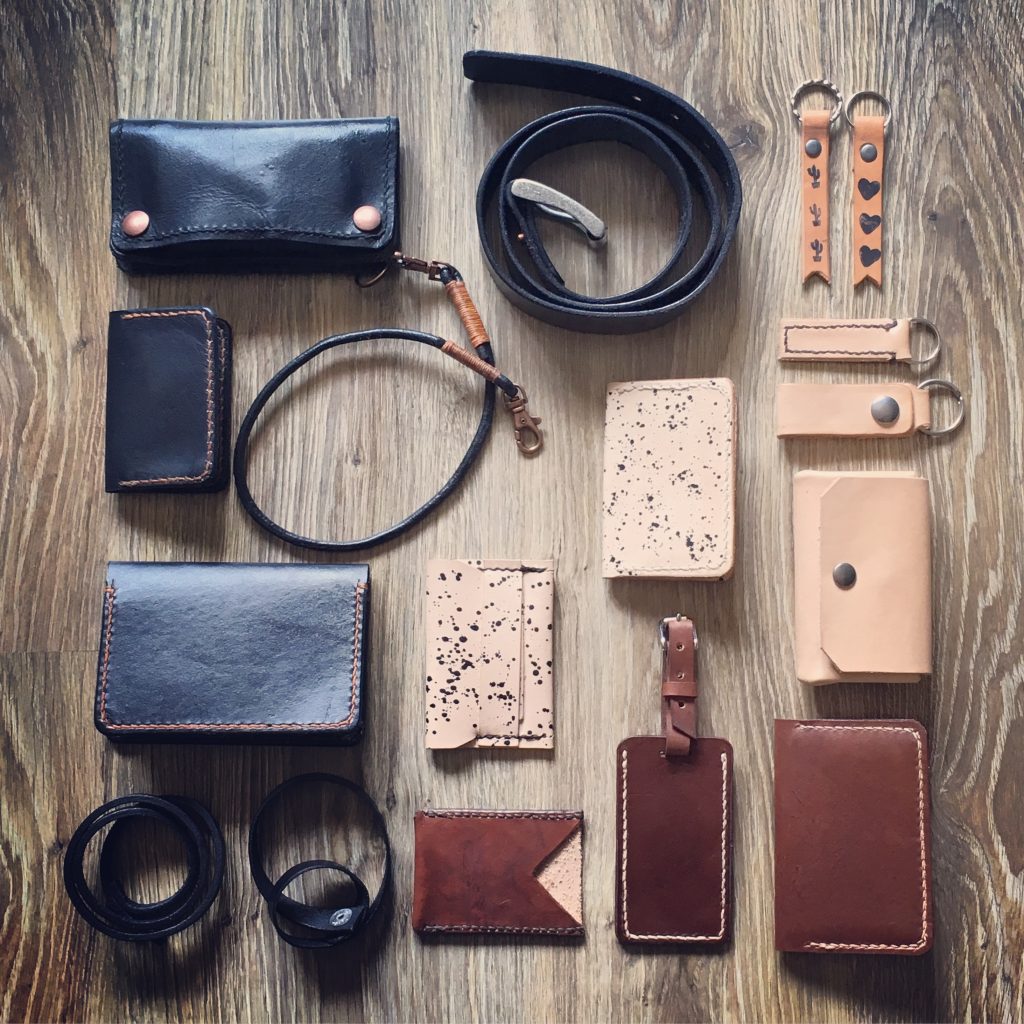
10. Take examples/photos of your other work.
Unless you’re running a pop-up shop, the chances are you won’t be able to bring EVERYTHING in your entire range. In which case, it’s a good idea to bring a selection of goods AND some photographic examples of the other products you make. This could take the form of a mini-catalogue or simply some small printed photos placed on the table or hung above the stall like bunting. That way, your customers may be inclined to order something they like despite not having the physical example in front of them and can simultaneously see more evidence of your skillset.
****
Have you got any other tips to add to these? Have these pointers proved useful? If so, please leave a comment below and let me know. I wish everyone who’s exhibiting a successful festive season and would also encourage anyone reading this to really get behind small businesses and makers as much as possible.
Shop small, shop local and have fun making for your stalls and stands.
Zoe x